Moving To a New Site

I have just decided that it's time to move on and have my own domain. All the posts in this blog will be moved to:

www.pinoygeek.org

Personal posts will be transferred to: raldz.pinoygeek.org

Sunday, July 23, 2006

SimplyMEPIS 6.0: Linux Desktop on Steroids!

By: Gerald Cortez

It's been three days since I've been playing around with the final release of SimplyMEPIS 6.0, and the words that come into my mind after the oohss, and aahhs is simply: “Linux Desktop on Steroids!” Although this is a review of the much awaited release of MEPIS 6.0, I decided to give it a title that reflects my impressions of the latest release from MEPIS.

After downloading the ISO from the first FTP mirror that has it, I quickly burned it into a CD and give it a test run on VMWare Workstation as a LiveCD. I was surprised that even though it is on a virtual machine, it runs and responds fast. This pushed me to install it on one of my work machines and give it further testing before making my final impressions.

SimplyMEPIS 6.0 has made a big leap this past few months by using the Ubuntu Repositories. At first I was skeptical of this move because previously I had several hardware issues with Ubuntu and this gave me a thought that MEPIS will just be another Ubuntu flavor that might give me hardware problems if I use it. I was absolutely wrong! It is just the repositories that were used, but under the hood it still the solid MEPIS that was known to work out of the box.


MEPIS 6.0 Highlights

Live CD:

Having the Live CD functionality is a must for new users or even advanced administrators. The Live CD functionality of MEPIS is very useful to first test the hardware that you plan to install MEPIS on. On the other hand, advanced administrators may use the Live CD functionality to troubleshoot problem machines or retrieve data on faulty storage devices. If after testing your hardware and it works out fine, you may now then install MEPIS on your hard drive.

SimplyMEPIS 6.0 running from the Live CD

Installation:

In terms of installation, MEPIS is still the fastest Linux to install that I have ever used in my machines. Installation is intuitive, for after running the Live CD, you can find an “Install” icon on the desktop. Clicking on this icon will install MEPIS on your hard drive. The process took around 15 minutes in my machine and was guided very nicely by the GUI installer from partitioning, to settings and configurations in order to run MEPIS successfully after the install.


Installing MEPIS 6.0

MEPIS Utilities:

Mepis Utilities is a tool under System Configurations that helps you setup/customize your hardware settings, network interface including WiFi and Wireless LAN, mouse, and graphic drivers. It also has section for maintenance. This Mepis Utility is one strong point of MEPIS. This is the first time that a Linux distro just let me choose and click my graphics driver then after a reboot, 3D acceleration is already enabled without a glitch (I did not touch the command line =) ).
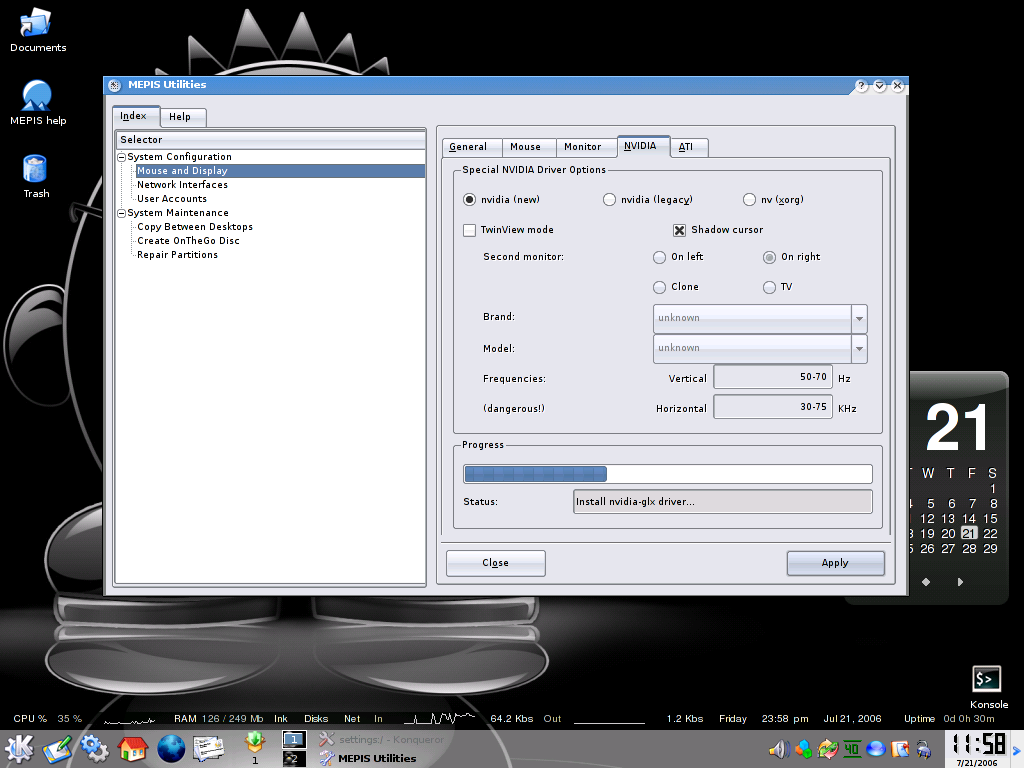

MEPIS Utilities: Choose and Click driver installation

MEPIS System Tweaks:

My first thought when I saw this tool is that it will let me tweak settings such that it will speed up boot time, speed up internet, or something similar, but I was wrong. This MEPIS tool can be found under System Configurations. Although MEPIS System Utilities is useful as it lets you customize your computer identity, locale, and recover space, I still believe that it should have been put under MEPIS Utilities. The functionalities of this MEPIS tool is very few to give it a separate entity. But nevertheless, it's useful.
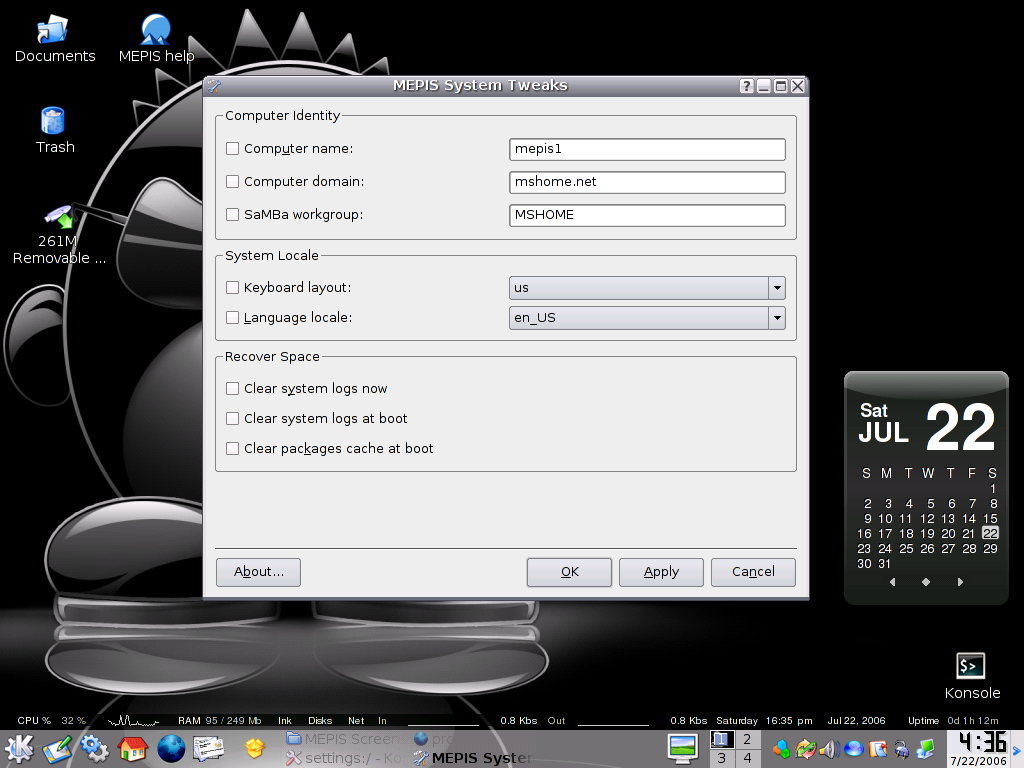

MEPIS System Tweaks

Hardware Support:

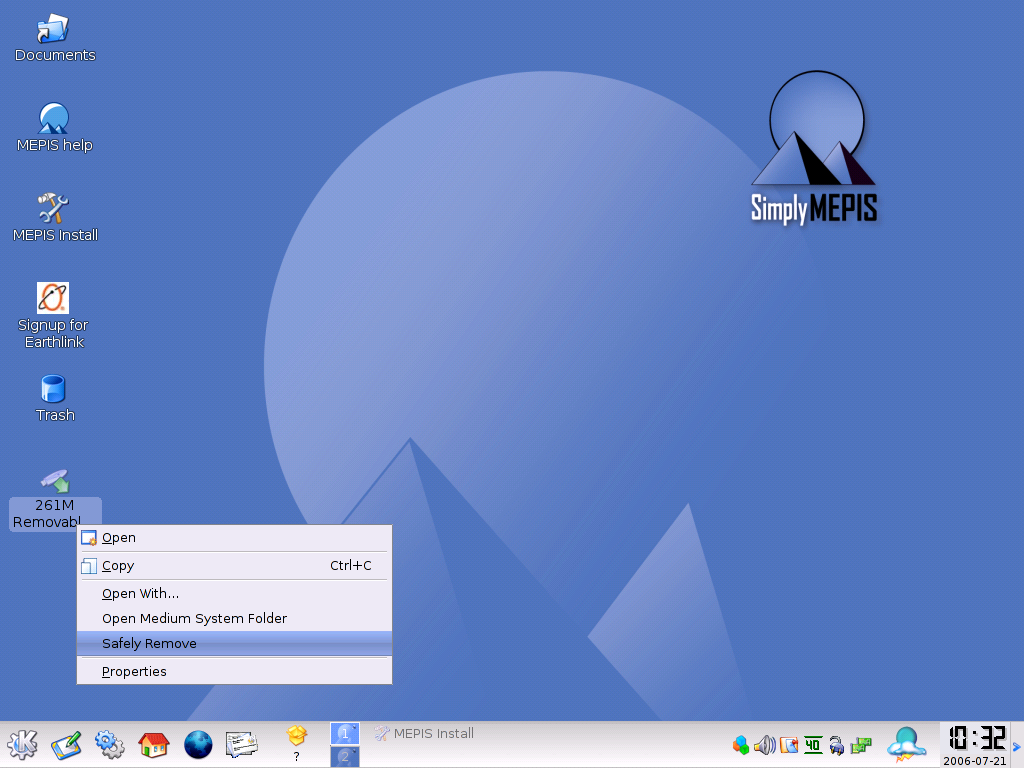
As what I expected, MEPIS is known to support lots of hardware, and my expectations of a problem free setup was fulfilled. All my hardware where detected including printer, scanner, webcam, network devices, USB devices, and bluetooth. As it was always known, hardware support is one strong point of MEPIS.

Printer Wizard

Detecting USB Device from Live CD

Safely Removing USB Device

Desktop Customization:

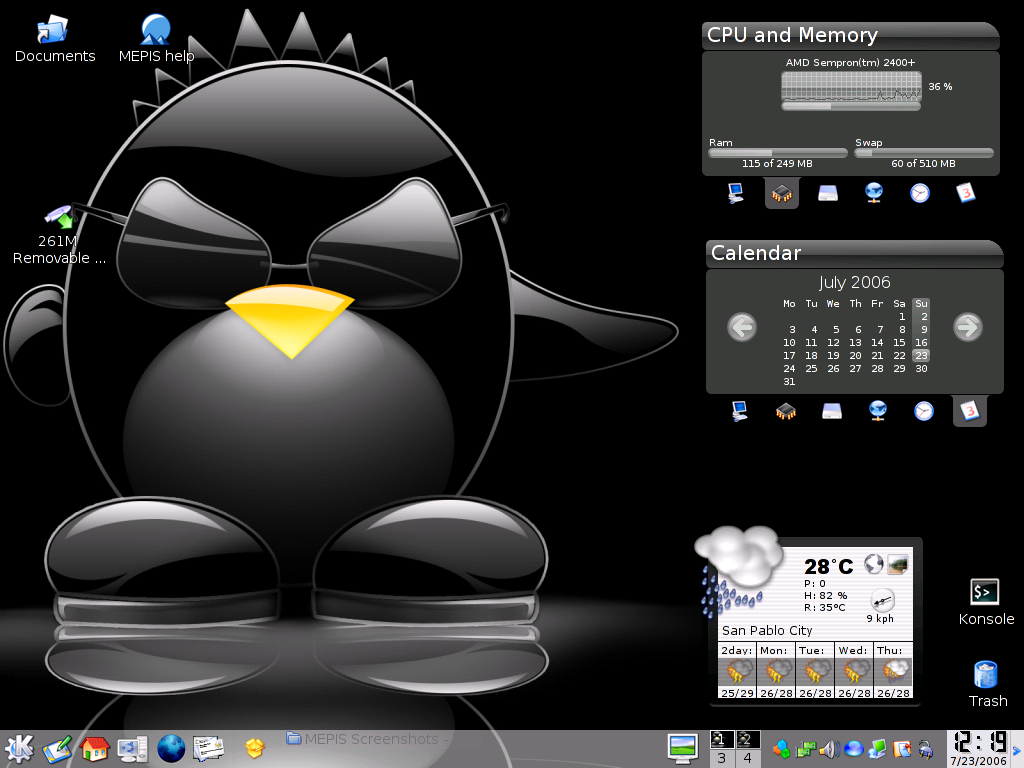
Linux, being open source, let's you customize your machine to an unlimited extent. Desktop Customization is one of my favorite things in MEPIS and same with other Linux distros. After customizing my desktop and loading it with applications, I'm surprised that it only used little RAM and is still fast compared to other distros. I have done some customization to make it look and behave like another distro that I use, and in comparison, MEPIS uses 115MB of RAM while the other distro uses 220MB of RAM. This is probably what separates MEPIS from the others... speed and efficiency.
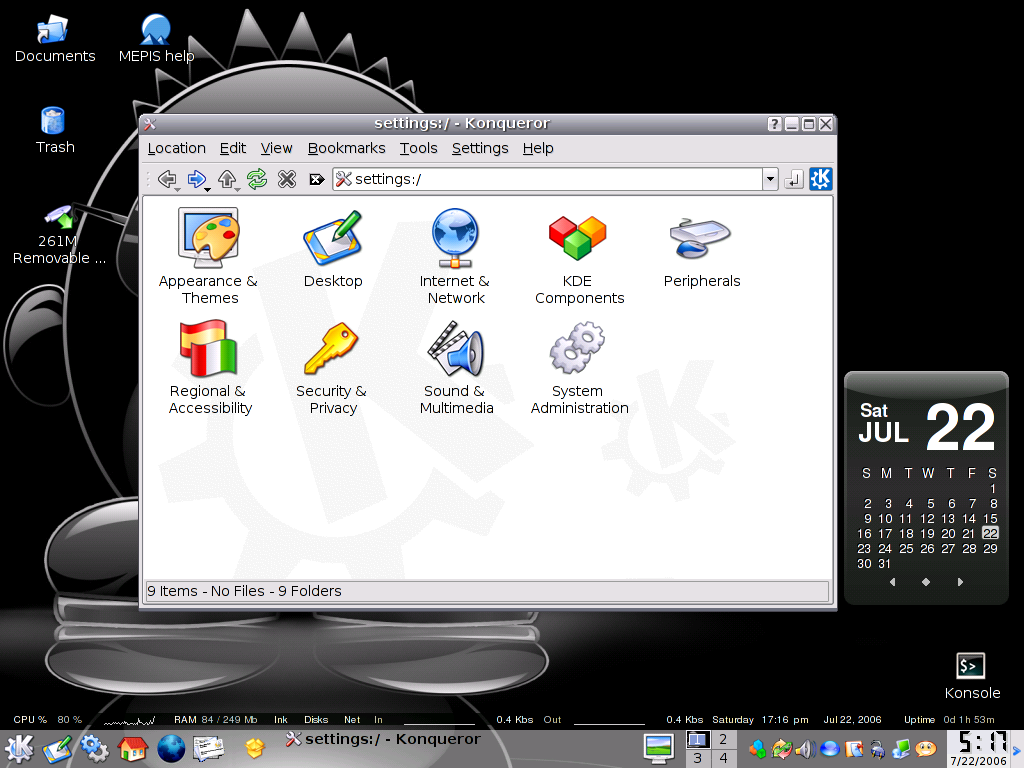
System Configurations

My Desktop after Customizations

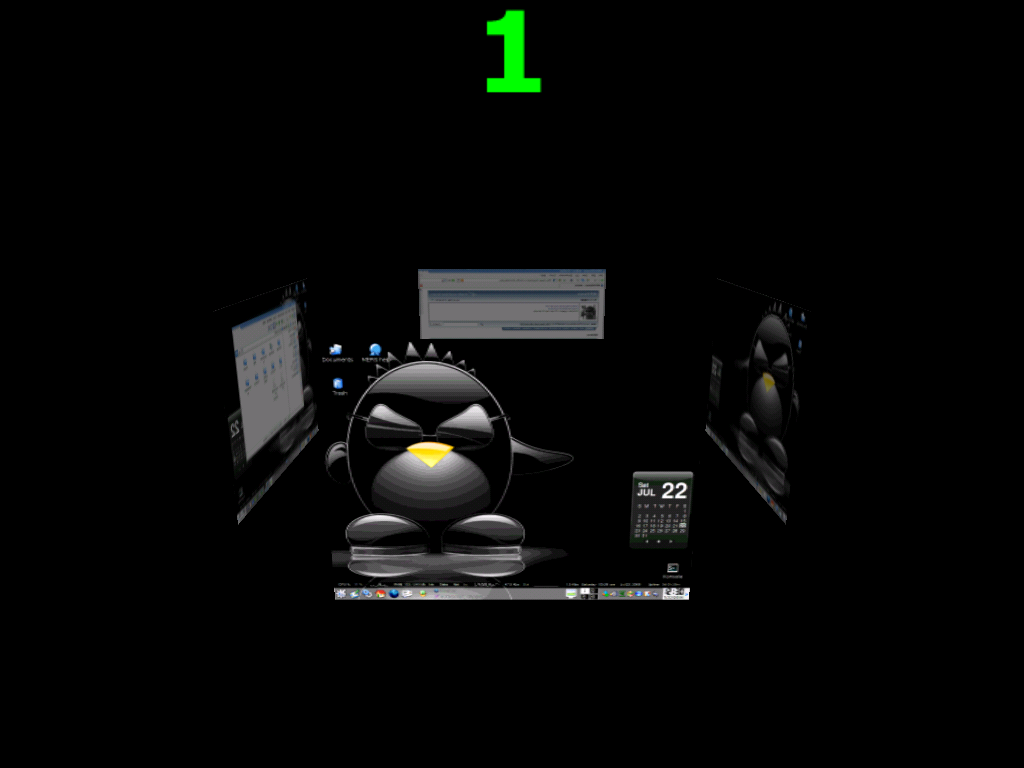
MEPIS running 3D Desktop

Automatix:

As if the good isn't good enough, we can use further tweaking and additional software by running the Automatix script. Automatic lets you add additional essential drivers, codecs, and software the easy way. It's lets you choose from its list all the package the you want to add to your default installation. But even without Automatix, we can still add these packages using apt-get and synaptic, Automatix just made it easier.

Running Automatix in MEPIS

Google Earth installed by Automatix

General Impressions

Installation:

So far, installation is very easy. Recommended if you are new to Linux. Installation will just take from 10 to 30 minutes depending on your machine.

Application Installation:

Different distros use different package managers to install additional applications. Synaptic Package Manager is one of the most widely and easiest to use among package managers. MEPIS having Synaptic is a strong point as it is very intuitive, with access to over 19,000 packages, adding applications is as simple as choose, click, and apply.
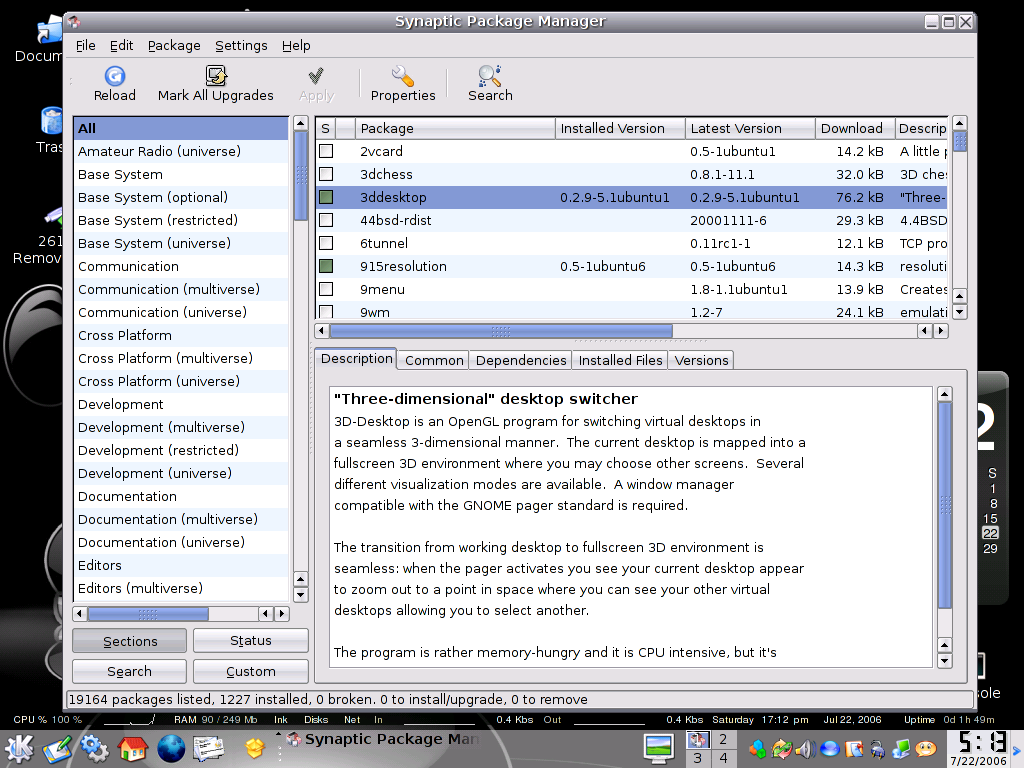
Synaptic Package Manager in MEPIS

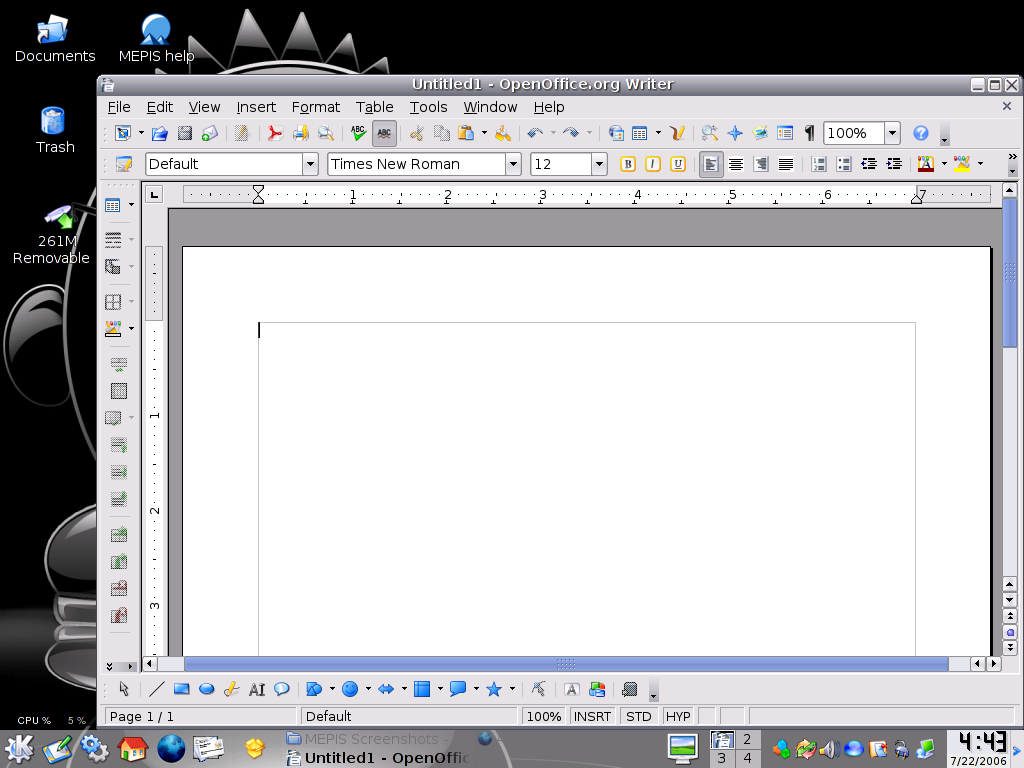
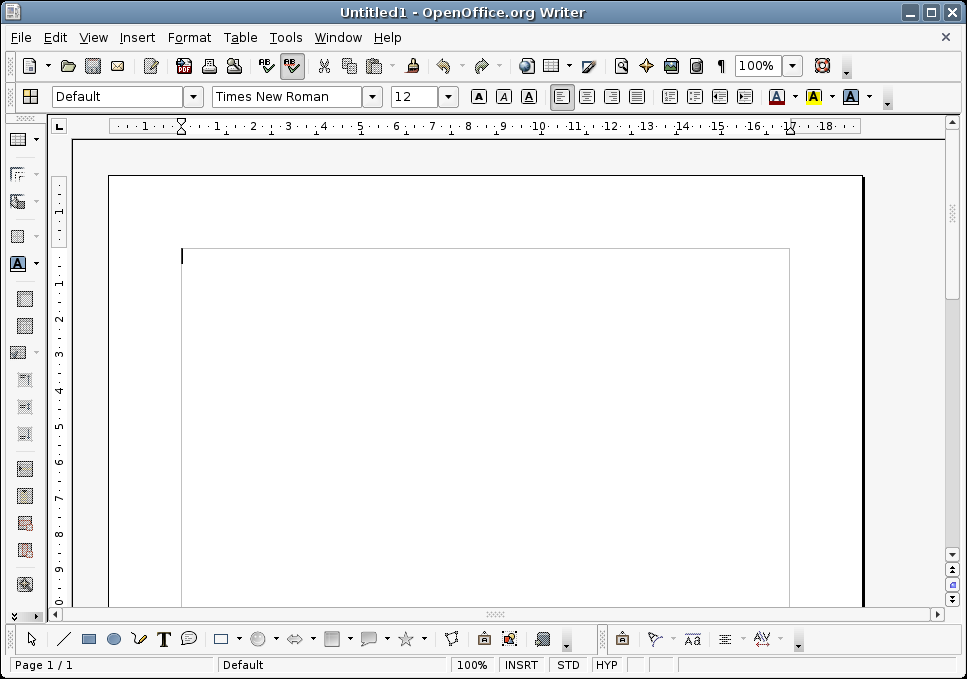
OpenOffice in MEPIS

Ease of Use:

Since I have been able to install, customize, tweak, and use MEPIS without (yet) touching the command line, I can say that even new users who just knows the basics of computers will not have a hard time getting accustomed with MEPIS. There are a lot of tasks that I do using the command line as it seems to be easier for me, however, those commands/tasks that I do can be done using the GUI of MEPIS. If you are a point and click person, MEPIS is for you.

Maintenance:

There are a lot of ways to maintain a Linux machine depending on how you use it, however, basic maintenance in MEPIS was made easier using the MEPIS Utilities and MEPIS System Tweaks. However, there are a lot of applications available from the repositories that you may want to add in case of other tasks that you want to achieve. Looking for an application is as easy as searching by entering keywords like: Task Scheduler, Back up tool, Firewall, etc..

Multimedia Capabilities:

MEPIS is known to support various multimedia format out of the box, but this release of MEPIS lacks some multimedia capabilities due to license restrictions. But this is not a problem at all, at the panel on the bottom of your desktop, you will see APT Notify, a yellow icon that tells you if an upgrade or update is available. This icon catches my attention because after the default installation, it alerted me that an update is available. Clicking the icon and doing a quick update downloads the needed multimedia packages and hence, a full multimedia support. MEPIS has live again to users' expectations.

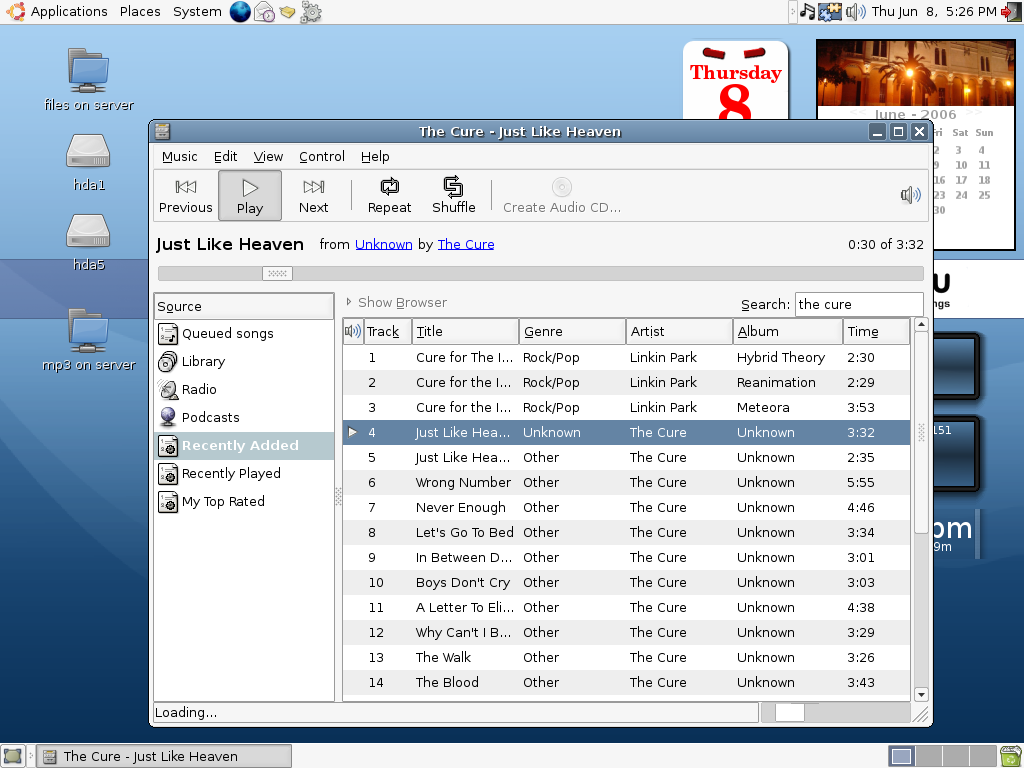
Amarok Playing My MP3s over the network

Documentation:

For new users, this is one of the most important part of a Linux distro, looking for help should not be a burden when all you want to do is watch a DVD, play MP3s, edit documents, surf the web, and some other simple tasks that are commonly done by an ordinary user. One of the first thing that you will see when you boot to your default setup is the blue icon on the desktop that says “MEPIS Help.” This icon will open the MEPIS website wherein you may find links to the How To's, the MEPIS User Guide, and links to other Help pages. Although there maybe some advance part that needs further explanations, you could always turn to the forums for added support.

Support:

Support is not a problem at all in MEPIS, people at mepislovers.com forum are very friendly and helpful to users of MEPIS, or if you want a live help, you could always turn to the IRC channel #mepis in server “irc.freenode.net”.

Price:

Downloading the CD ISO from public mirror sites is absolutely free of charge, as in FREE. But if you want the pressed CD delivered right in to your doorsteps, the cost is around US$ 15.00.

Overall Impression:

I am totally amazed at how fast and efficient this distro is. As what I stated from the title, it's like Linux Desktop on Steroids! So far, a lot of improvements has been made since SimplyMEPIS 3.4-3, and MEPIS has live again to its slogan: “an OS for the 21st Century”. Great job MEPIS Team!


Related Articles:

Basic Things To Know When Switching to a Linux Desktop

SimplyMEPIS: Linux Ready for the Desktop

Thursday, July 13, 2006

Free Linux CDs (not Ubuntu)

TheLinuxStore.ca has started a new project. A project that will give away free Linux disks of your favorite distribution (SUSE, Fedora, Mandriva, Gentoo, Debian, Knoppix). Have a look, give feedback, donate to the cause, request a disk.

read more...

Friday, June 09, 2006

Basic Things to Know When Switching to a Linux Desktop

By: Gerald Cortez


Recent releases of Linux Distributions totally amazes me. What was once an OS that is easy to use and configure, has gotten even better. For me, one of the easiest distribution that I had my hands on is MEPIS (3.4-3, with upcoming 6.0 release on mid June 2006). Of course there are other Linux distributions that are great in their own sense. Ubuntu, Kubuntu, SUSE, and Kanotix are among my favorites. As of now, I use MEPIS, Ubuntu, and SUSE on three different machines, and just couldn't make up my mind which distribution should I make my home.

I am an advocate of Open Source, and try to promote Linux to friends, colleagues, and sometimes to total strangers. But even though Linux has made its way to the mainstream and wouldn't make an intermediate computer user sweat, there are always bumps on the road. New users get stuck on their new Linux machines trying to figure out what went wrong, or as a better way to say it.. what they didn't know. From different questions that I get from new users, I have come up to a collection of the basic things that a new Linux user must know.


Distributions

Open Source is all about freedom, and when it comes to Linux Distributions, you have more than a hundred choices. This diversity in distros is due to the unlimited customizations one could do with his own Linux and Open Source applications. To play safe, as a new Linux user, you may want to limit your choice to the top 5 or even top 10 distributions listed at distowatch.com. To help you make your choice, I suggest to try first the single CD distributions before trying those 3 to 5 CD distributions. Single CD distros includes Ubuntu, Kubuntu, MEPIS, Kanotix, and PCLinuxOS.


Live CD

A Live CD is a fully operational Linux OS and Applications packed in one CD ready to use. You just have to boot to the CD and follow some instructions and you'll be up and running a Linux machine in less than 2 minutes. The Live CD runs all the applications from the CD so it doesn't touch or harm your hard drive. You have nothing to be afraid of even though you are new to Linux because no data will be lost from your computer. You may have to configure your BIOS so that the first boot device is your CD ROM. Most Live CD will require you to at least have a minimum of 128MB of RAM. Take note that running applications from a Live CD is a little slow compared to full install of a Linux distro. A popular Live CD is Knoppix, the Ubuntu and Kubuntu 6.06 version is a LiveCD and install CD in one, so is MEPIS, Kanotix, and PCLinuxOS.


Install CD

Almost all Linux install CD or live CD may be downloaded from their respective FTP sites or websites. These CD images are in ISO format and you need to burn them as ISO images. Some install CDs are also a Live CD all in one. Some popular install CDs are SUSE (5-CD plus 1 non-OSS CD), Mandriva (3-CDs), and Fedora (5-CDs). If you don't have a fast internet connection to download these large ISOs, you may opt for the single CD/LiveCD as mentioned earlier. The distributions mentioned in this article are known for their ease of use and installation and have tried it my self. Many new Linux users are quite skeptical when the command line interface is mentioned, but these distributions that I mentioned made me install and customize all my favorite stuffs without touching the command line.


Partitions

If you were born with MS Windows, you know that hard drive partitions are designated as “C” the first partition, “D” as the second, and so forth. If you have a second hard drive, the letters will just continue as “E”, “F”, and so on. But Linux has a more logical way in designating partitions. If you have a primary hard drive, it will be designated as “hda”, a second hard drive will be “hdb”, third will be “hdc” and so on. If you have two partitions in your primary drive, it will be “hda1” and “hda2”. If you have another two partitions in your secondary drive, it will be “hdb1” and “hdb2”. Another “special” partition in Linux is called the “swap” partition. This is equivalent to the “page file” of MS Windows.


Using Gparted to show how my Hard Drive is partitioned to accommodate both MS Windows and Linux.


Mount Points

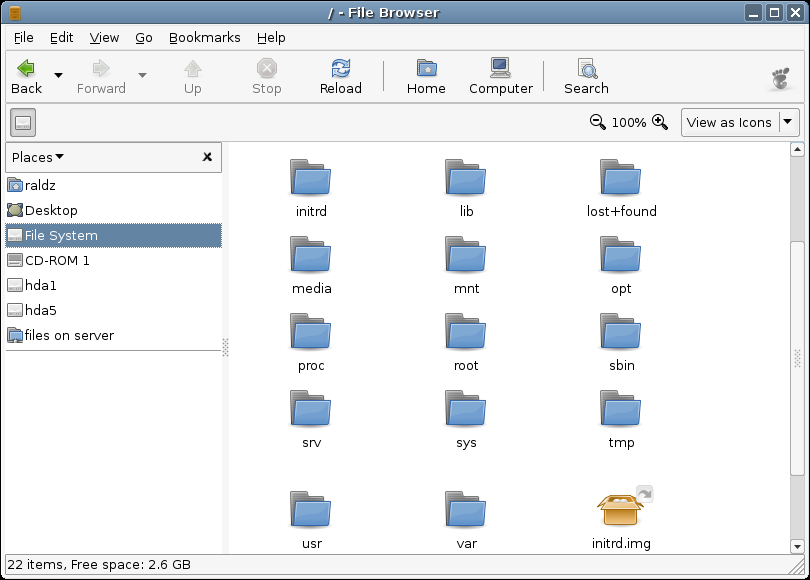
In Linux, hard drive partitions are “mounted” so that it will be accessible inside Linux. Let us take for example the picture above, I have hda1 (FAT32), hda5 (FAT32), and hda6 (EXT3, some distros may have REISERFS as their format). My primary Linux partition is “hda6” this partition is mounted as the root partition or “/” when inside the Linux system. To have hda1 and hda5 accessible inside Linux, they are mounted as “/mnt/hda1” and “/mnt/hda5” respectively. But this shouldn't be a big trouble, as these drives can be seen under “Places” or “My Computer” inside a Linux desktop environment. If you wish to go full time Linux and have another partition formated as “EXT3” or “REISERFS” you may wish to mount those drives or partitions differently, like “/home/archives” or “/home/mp3s” or any other way you want. You may notice that I use “/home” as the base, this is because the /home partition is where all your documents and personal settings are located, it is equivalent to Window's “Document and Settings”. If you want to frequently upgrade your distro, you may want to put your “/home” on a separate partition, this is to preserve all your personal files when you need to reformat the root “/” partition when doing a new install of a distribution. From my previous example, if I have my root at hda6, I may want to separate my /home and create another partition, let us say hda8 and mount it as my /home.


Desktop Environments

There are two popular desktop environments in Linux, these are KDE and GNOME, although there are other desktop managers like XCFE and FLUXBOX, I recommend KDE or GNOME for a new Linux user. These desktop managers are what we call the graphical interface where you may access all your applications, tools, and configurations, so that you may not have to touch the command line when doing a task. I like the Linux desktop managers compared to MS Window's Explorer as it is more organized, fast, stable, and aesthetically pleasing. And yes, you may personalize your desktop to a great extent that it would be very uniquely yours.


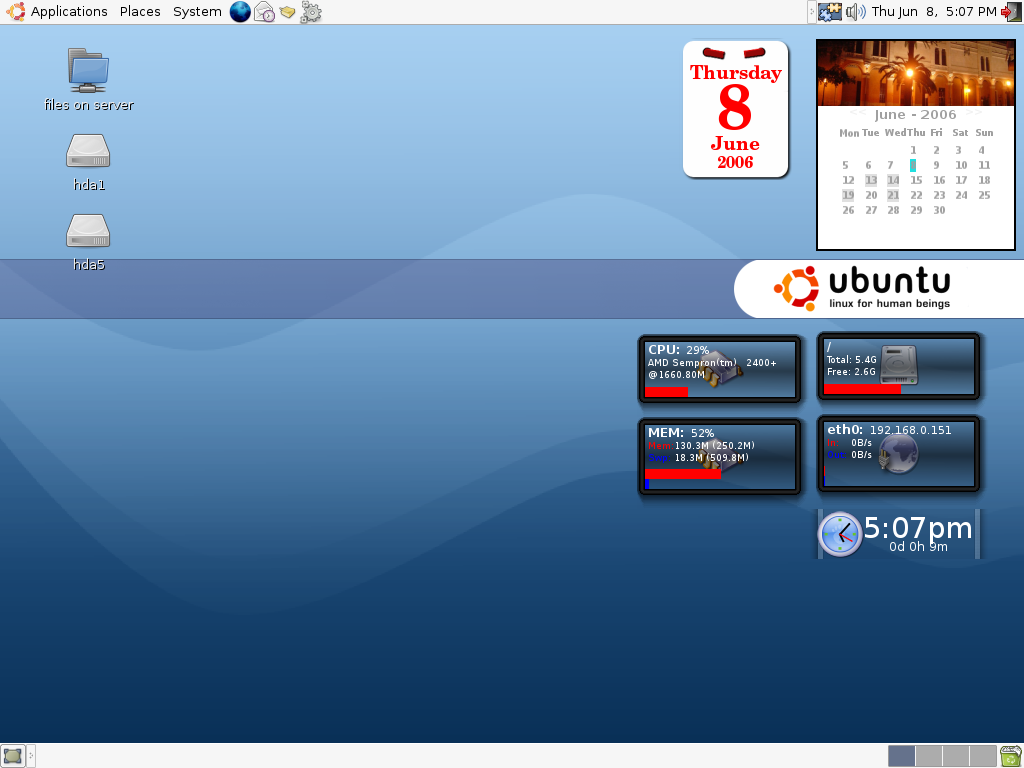
My GNOME Desktop in Ubuntu 6.06


My KDE desktop in SUSE 10.1


Networking

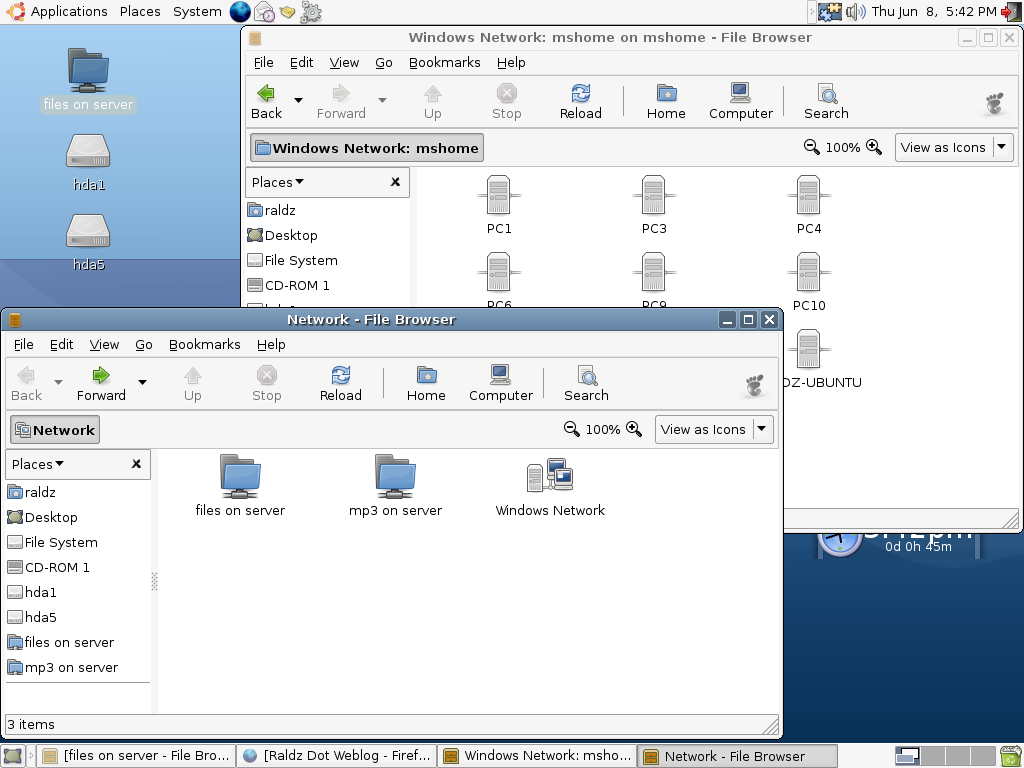
Most new Linux users may find themselves buried in a network of Windows computers, this will not be a problem at all. There are two basic packages that you need to remember in order for your Linux computer to interact with Windows computers along a network, these are the SAMBA Server and Client. The SAMBA server lets you share your Linux files to MS Windows Clients, while the SAMBA client lets you access files from MS Windows Servers. If you have a DHCP server in your network (most small networks use routers as their DHCP server) and you have SAMBA server/client, then your settings in order for your Linux machine to be connected in the Windows network is configured automatically. After this, sharing your file will be as easy as right-clicking a folder and click “share”.


My Linux Desktop browsing the Windows Network


Printing

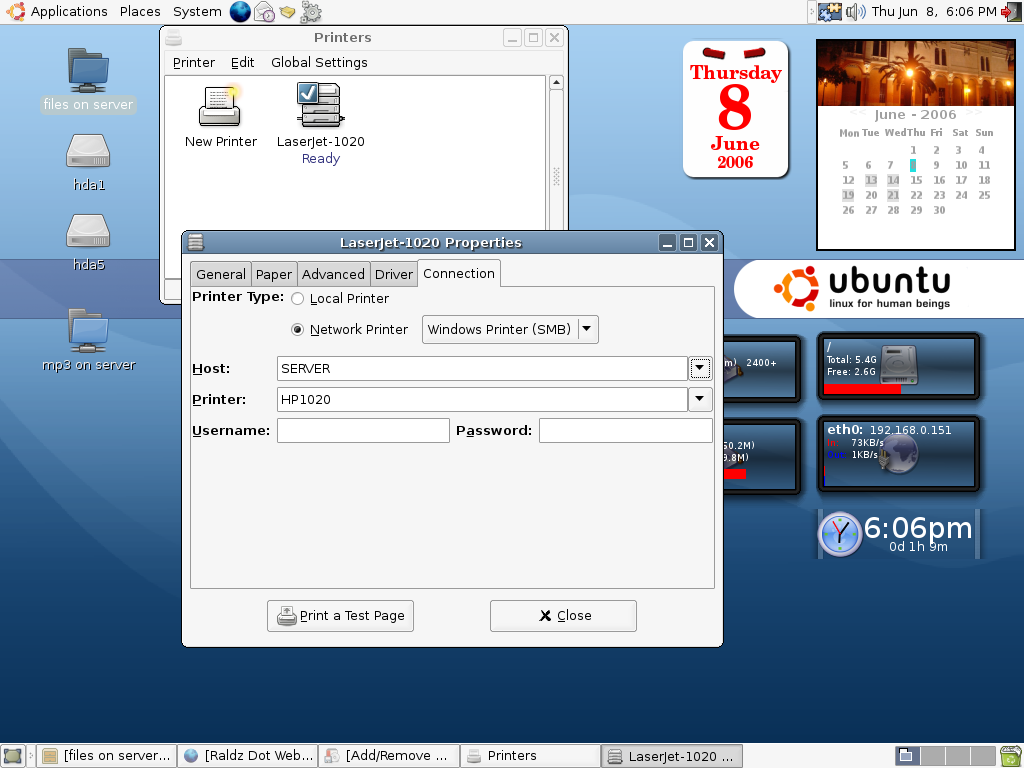
As of this writing, Linux supports already a vast array of printers, even though the Printer Vendor doesn't provide a Linux driver, chances are, it is already inside the Linux driver database, it is as easy as connecting your printer to your computer and just follow a few clicks and you're ready to use it. If you are still anxious if your printer is supported or not, you may want to visit LinuxPrinting.org to check if your printer model is already in the database. As for the case of printing to a Windows shared printer, all you have to do is use the SAMBA share settings for printers. It is included in the choices of type of networked printers when doing an add printer setup.


My Linux desktop prints over a Windows Shared HP-1020 printer


Package Managers

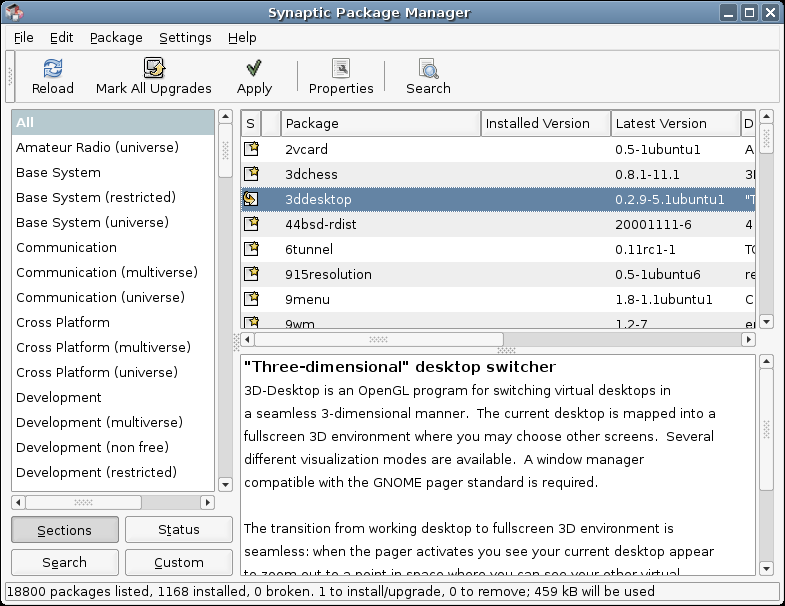
Maybe you will ask, where could I get all the extra applications that I need? Most major Linux distributions have their Package Managers pre-installed. This so called package managers can have up to 18,000 applications in their list, all you need is an internet connection or the installation CDs in order to install the applications that you need. It is as simple as searching the package manager either by name or description to find the application that you need. Let us say you searched for “image editor” and your search result may have applications like “Gimp”, “Xara”, “Krita”, and other apps that have image editing capabilities. Just cue your search result for installation and confirm the installation, then you're all set. One of the most popular package manager is Synaptic, many distributions like Ubuntu, Kubuntu, MEPIS, and PCLinuxOS uses Synaptic as the package manager. Although there are other managers like Yast for SUSE, they all play basically the same purpose.


Basic Add-Remove Program for Ubuntu 6.06


Synaptic Package Manager with over 18,800 available packages


Repositories

After installing your Linux and then you wish to add other applications, you may notice that there are only a few choices of applications to add, let us say 10,000 packages only. These packages are in the “main” repository, or the main source from the ftp or http servers that are supported by your distribution, however, you may add other repositories in order to increase your choices of applications, these repositories are what we call as supported by the “community.” Distributions like Ubuntu and MEPIS have a choice of repositories already included under the “settings” of Synaptic, all you have to do is just mark the repositories that you wish to add in order to increase your package lists. And believe me, think of a task that you wish to accomplish, and chances are, there is a corresponding package in the repositories that will suit that task. And it's free. Yes, as in free beer!


Where Do I Get Further Help?

Most new Linux users are afraid because of the notion that they don't know where to get help if ever there is a problem. That shouldn't be a problem at all, just go to the forums of your respective Linux Distribution to post your questions and you'll be surprised to have answers within minutes. You may find links to official forums from the websites of the Linux distribution of your choice. Still not satisfied? You want instant answers? Then the official IRC channel of your distro is the place to ask questions. These channels are located at the “irc.freenode.net” servers and all you have to do is join the channel of your Linux distribution. Example: #mepis, #ubuntu, and #suse. You'll be surpirsed how friendly the people are at those channels. You will get instant answers for your problem. Now, all of these, you will get.. FREE of charge! Yes, as in free beer! Cheers!


More Screenshots:


My MP3 Files Being played from a Windows Shared Folder Accros the netowrk


OpenOffice.org Writer, Word Processor